Introduction:
Phil at Crucial Maintenance Services understands property maintenance and that painting a room is one of the most effective ways to transform its look and create a fresh, updated space. Whether you’re giving a tired room a makeover, refreshing an end of tenancy property or adding a pop of colour to a new space, painting can make a significant impact.
In this property maintenance step-by-step guide, we’ll walk you through the process of painting a room and provide you with a materials list to ensure you have everything you need to achieve a professional and beautiful finish, this guide cannot be held responsible for your end result or finish.

Materials You’ll Need:
Step 1: Prepare the Room
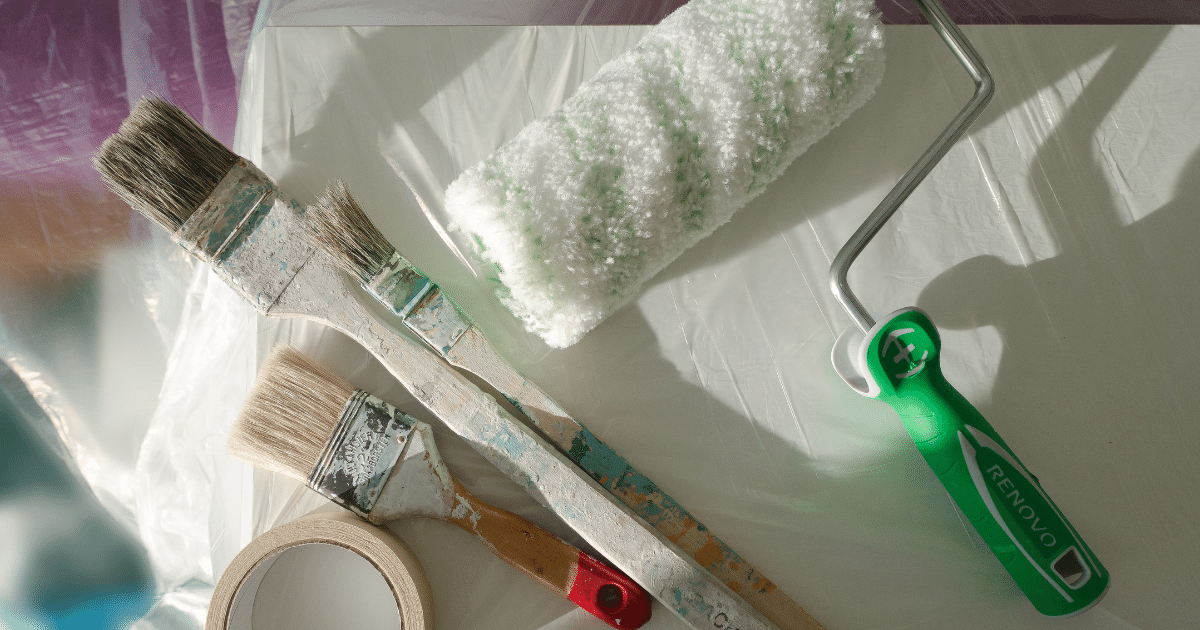
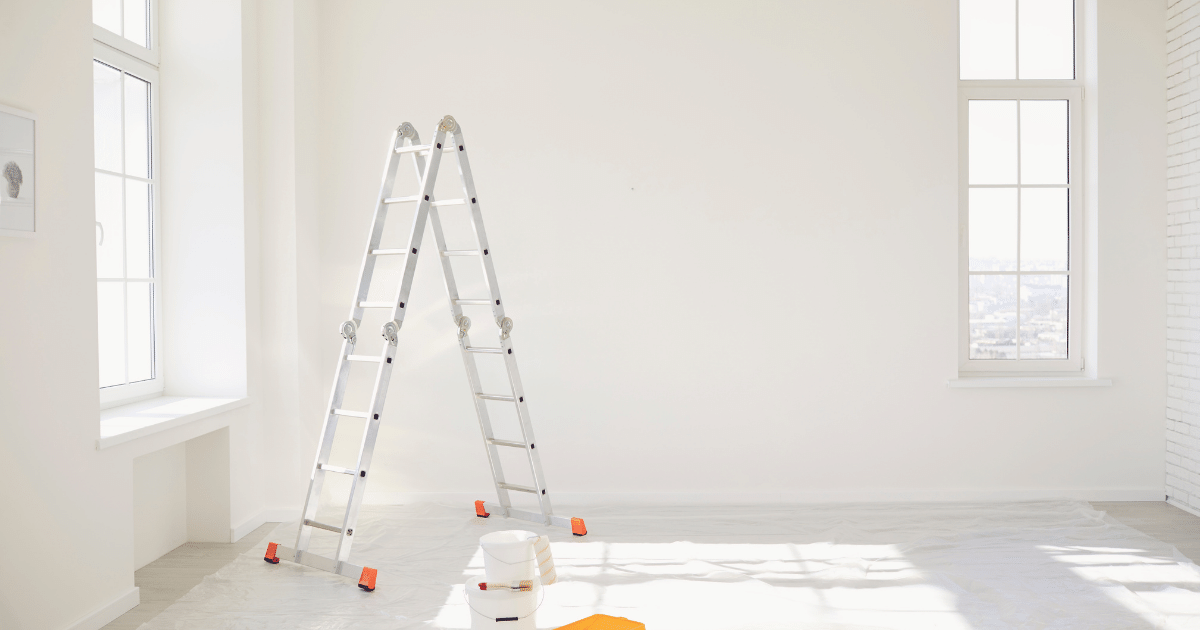
Before starting the painting process, prepare the room by removing furniture or covering it with drop cloths or plastic sheeting. Protect the floors with drop cloths or plastic as well. Use painter’s tape to mask off areas such as baseboards, trim, and windows, ensuring clean lines and preventing paint bleed.
Step 2: Surface Preparation
If the wall previously had wall paper attached, I would give the walls a once over with a mixture of sugar soap or something similar, after thoroughly washing the walls and allowing time to dry we are onto the next stage.
Inspect the walls for any imperfections, such as cracks, holes, or rough patches. Use filling compound and a putty knife to fill in holes and smooth out any uneven surfaces. If the walls have an existing glossy finish, lightly sand them to create a better surface for paint adhesion. Once the repairs are dry, sand them down and wipe away any dust. Always wear your correct PPE whilst creating any debris or dust, so dust mask, protective glasses and gloves, ear protection if using any equipment that is considered loud, always read manufacturers guidelines.
Step 3: Prime the Walls (If Necessary)
If you’re painting over a dark or stained surface, or if you’re transitioning between drastically different paint colours, it’s recommended to apply a coat of primer. This helps create a uniform base and improves the paint’s adhesion. Allow the primer to dry completely before proceeding to the next step.
Step 4: Paint the Ceiling
Start by painting the ceiling first, as it can be more challenging to work on later without splattering paint on the freshly painted walls. Use a paint roller and extension pole for easy reach and coverage. Apply the paint in even, overlapping strokes, working in small sections at a time. Once the ceiling is painted, allow it to dry completely.
Step 5: Paint the Walls
Now it’s time to paint the walls. Begin by cutting in around the edges with a paintbrush, painting along the taped areas and corners. Then, use a roller to apply paint to the larger areas of the walls. Roll the paint onto the roller tray to distribute it evenly, and apply it in a “W” or “N” pattern on the wall for best coverage. Work in manageable sections, keeping a wet edge to avoid visible seams or lines. Allow the first coat to dry completely before applying a second coat for a more professional and durable finish.
Step 6: Clean Up and Finishing Touches
Once you’ve finished painting, remove the painter’s tape while the paint is still slightly wet to achieve crisp, clean lines. Clean your brushes and rollers with water or the appropriate cleaning agent according to the paint type. Store any leftover paint for touch-ups in the future. Gently remove the drop cloths, clean the floors, and return the furniture to its place.
Admire your freshly painted room and enjoy the transformation!

Conclusion
With this property maintenance step-by-step guide and the right materials, painting a room can be a rewarding and enjoyable DIY project. Proper preparation, high-quality materials, and attention to detail will ensure a professional-looking paint job that breathes new life into your space. Whether you’re adding a fresh coat of paint or experimenting with a new colour scheme, embrace the creative process and enjoy the transformation of your room.
Break down each step in this guide, conduct thorough research to identify the optimal tools and products within your budget.
Visit our service page for information, and don’t hesitate to reach out via the ‘Contact Us’ section to discuss your vision.
Wishing you a successful painting experience!
The principal fire safety laws in England include:
These laws apply to most properties except single residential dwellings and place legal obligations on property owners and responsible persons, especially in multi-occupied residential buildings, workplaces, and public spaces. The regulations cover everything from the building’s external walls and structure to fire doors in common areas.
Key Fire Door Responsibilities:
Fire doors are crucial for containing fire, smoke, and toxic gases, and regular checks are mandatory to ensure they provide adequate protection. Compliance with these regulations ensures a safer environment for all occupants.
For more information, visit our blog for links to the official UK Government legislation.