Introduction:
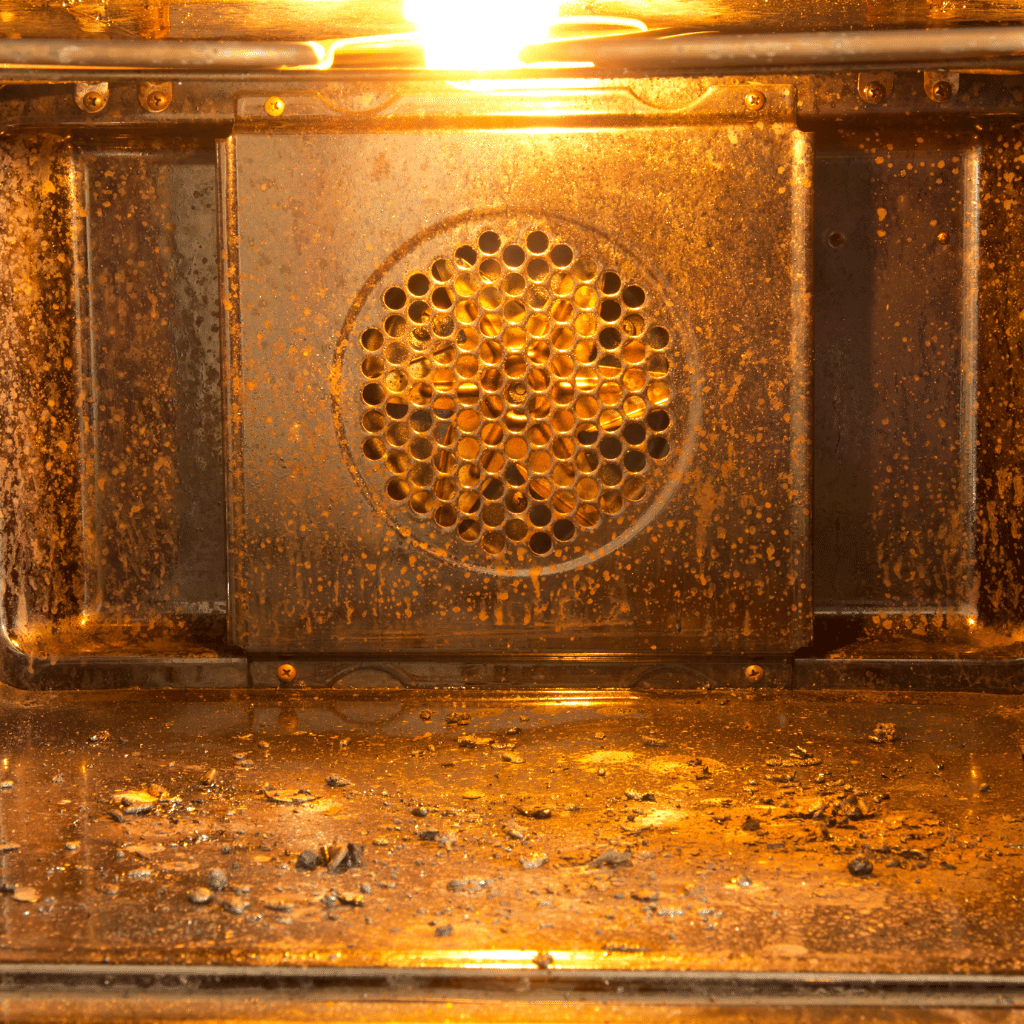
Alex within our cleaning services team recognizes the frustration of dealing with end of tenancy cleaning, particularly when it comes to a grimy oven. This challenge can mar the appearance of any kitchen, whether you’re preparing to hand over a rented property or welcome new occupants.
However, with the right materials and a little elbow grease, you can easily restore your oven to its former sparkling glory. In this step-by-step guide, we’ll walk you through the process of cleaning a dirty oven and provide you with a list of materials you’ll need to get the job done, we cannot be held liable for any issues or damage caused following this guide.

Materials You’ll Need:
Research your materials, this will get the best results related to your budget and sustainability.
Step 1: Prepare the Area
Before you start cleaning, ensure your kitchen is well-ventilated by opening windows or turning on the exhaust fan. Lay down some old newspapers or a protective covering around the oven to catch any drips or spills.
Step 2: Remove Oven Racks and Accessories
Take out the oven racks, baking trays, and any other removable accessories. Place them in a sink filled with warm water and dish soap for soaking. This will help loosen the grime and make them easier to clean later.
Step 3: Apply the Oven Cleaner
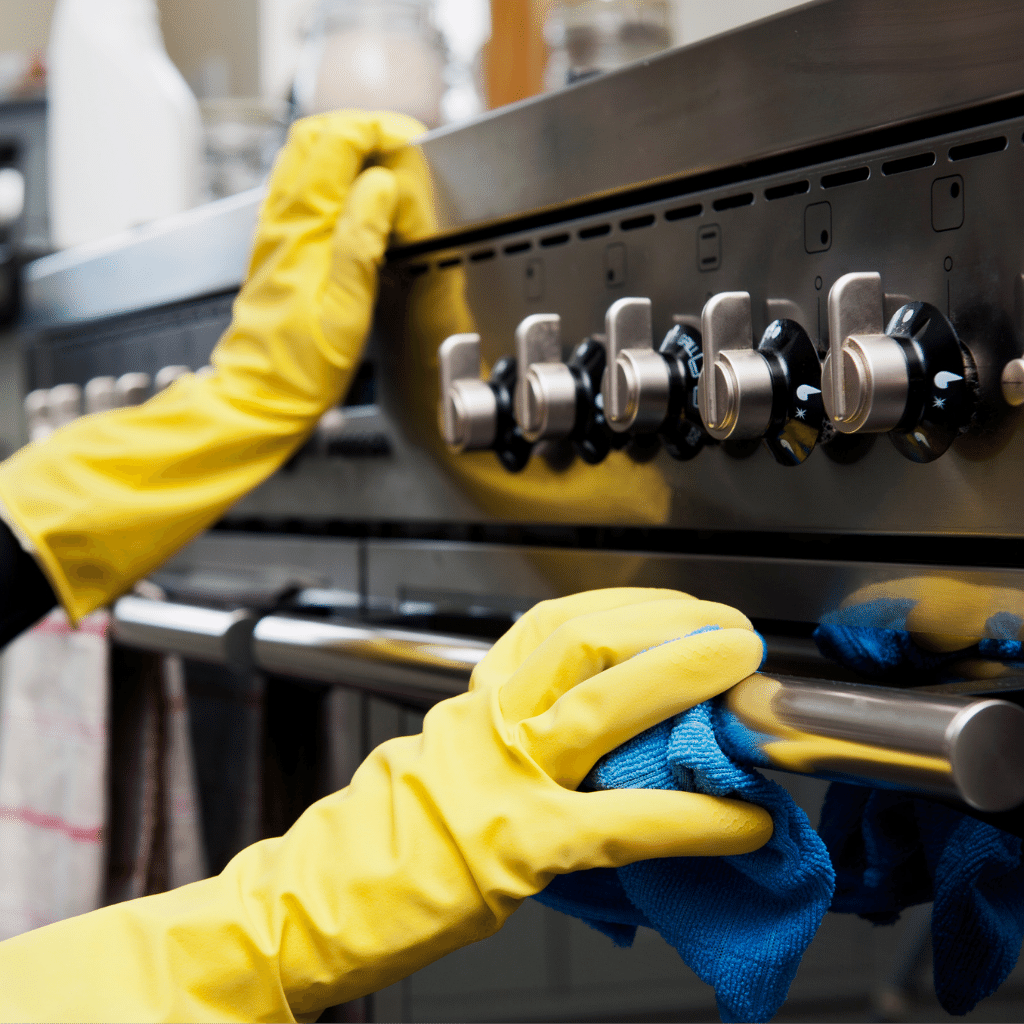
Put on your rubber gloves and safety goggles to protect your skin and eyes. Follow the instructions on the oven cleaner you’ve chosen, or if you prefer a natural solution, make a paste by mixing baking soda, vinegar, and water until it forms a thick consistency. Apply the cleaner to the interior surfaces of the oven, focusing on the areas with stubborn stains and built-up grease. Avoid applying the cleaner to heating elements or any sensitive parts.
Step 4: Let the Cleaner Work
Allow the oven cleaner to work its magic according to the instructions provided. This usually ranges from 15 minutes to several hours, depending on the product or homemade mixture you’re using. During this time, close the oven door to contain the fumes and prevent the cleaner from drying out.
Step 5: Wipe Down the Interior
With a damp cloth or sponge, start wiping down the interior surfaces of the oven. For stubborn stains, use a plastic or silicone spatula to gently scrape away the grime. Be careful not to scratch the oven’s surfaces. If needed, rinse and wring out the cloth or sponge to remove excess cleaner and residue.
Step 6: Clean the Oven Racks and Accessories
While the oven cleaner is working, take the time to clean the oven racks and accessories you soaked in the sink. Use a sponge or cleaning brush to scrub away any remaining dirt or grease. Rinse them thoroughly with clean water and dry them before placing them back into the oven.
Step 7: Remove Excess Cleaner and Residue
Once you’ve finished wiping down the interior, use a clean, damp cloth to remove any remaining cleaner and residue. Rinse and wring out the cloth as necessary. Alternatively, you can place a handful of paper towels on the bottom of the oven to absorb the excess cleaner and wipe it away.
Step 8: Final Touches
Take a clean, dry cloth or paper towel to give the interior of the oven a final wipe down, ensuring it is completely dry. Pay attention to corners and crevices where moisture might linger. Replace the oven racks and accessories once everything is dry.
Optional Step: Check Oven Temperature
If you suspect that your oven’s temperature might be off, you can perform a simple temperature check to ensure accurate cooking and baking results. Here’s how:
Obtain an oven thermometer: Purchase an oven thermometer from a kitchen supply store or online retailer. Make sure it is suitable for the type of oven you have (gas or electric).
Preheat your oven: Set your oven to a specific temperature, such as 350°F (175°C), and allow it to preheat for at least 15 minutes. This ensures that the oven reaches its intended temperature.
Place the oven thermometer: Position the oven thermometer on the center rack of the oven. Ensure that it is visible and not obstructed by any pans or trays.
Monitor the temperature: Keep an eye on the oven thermometer as the oven continues to preheat. Once it reaches the desired temperature, check the reading on the thermometer.
Compare temperatures: Compare the reading on the oven thermometer with the set temperature on your oven’s control panel. If there is a significant difference (more than a few degrees), it indicates that your oven may have a temperature calibration issue.
Adjusting the temperature: If you find that your oven’s temperature is off, consult your oven’s user manual for instructions on how to recalibrate or adjust the temperature settings. Alternatively, you can contact a professional appliance technician for assistance.
By performing a temperature check, you can ensure that your oven is accurately heating to the desired temperature, allowing for precise and consistent cooking or baking. This step can be particularly helpful if you have noticed unevenly cooked dishes or recipe instructions not yielding the desired results.

The principal fire safety laws in England include:
These laws apply to most properties except single residential dwellings and place legal obligations on property owners and responsible persons, especially in multi-occupied residential buildings, workplaces, and public spaces. The regulations cover everything from the building’s external walls and structure to fire doors in common areas.
Key Fire Door Responsibilities:
Fire doors are crucial for containing fire, smoke, and toxic gases, and regular checks are mandatory to ensure they provide adequate protection. Compliance with these regulations ensures a safer environment for all occupants.
For more information, visit our blog for links to the official UK Government legislation.